General
- Welcome
- Auctions
- Items
- Activities
- Guests
- Mass Import / Export
- Users
Standard Auction
Mobile Enhanced Auction
Create Auction
After you have registered, then login to your account. You will see a list of auctions that you have either created or have been invited to help manage. If you don't have any auctions yet, your list will be empty. Here is an example with two auctions:
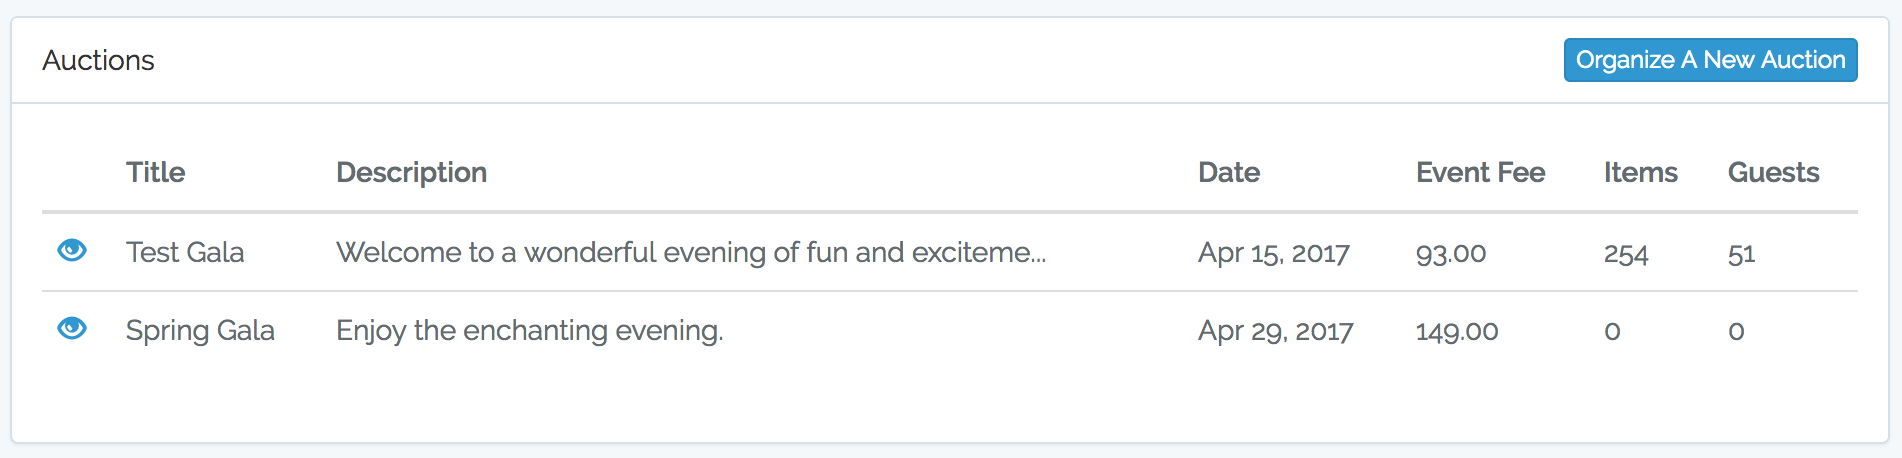
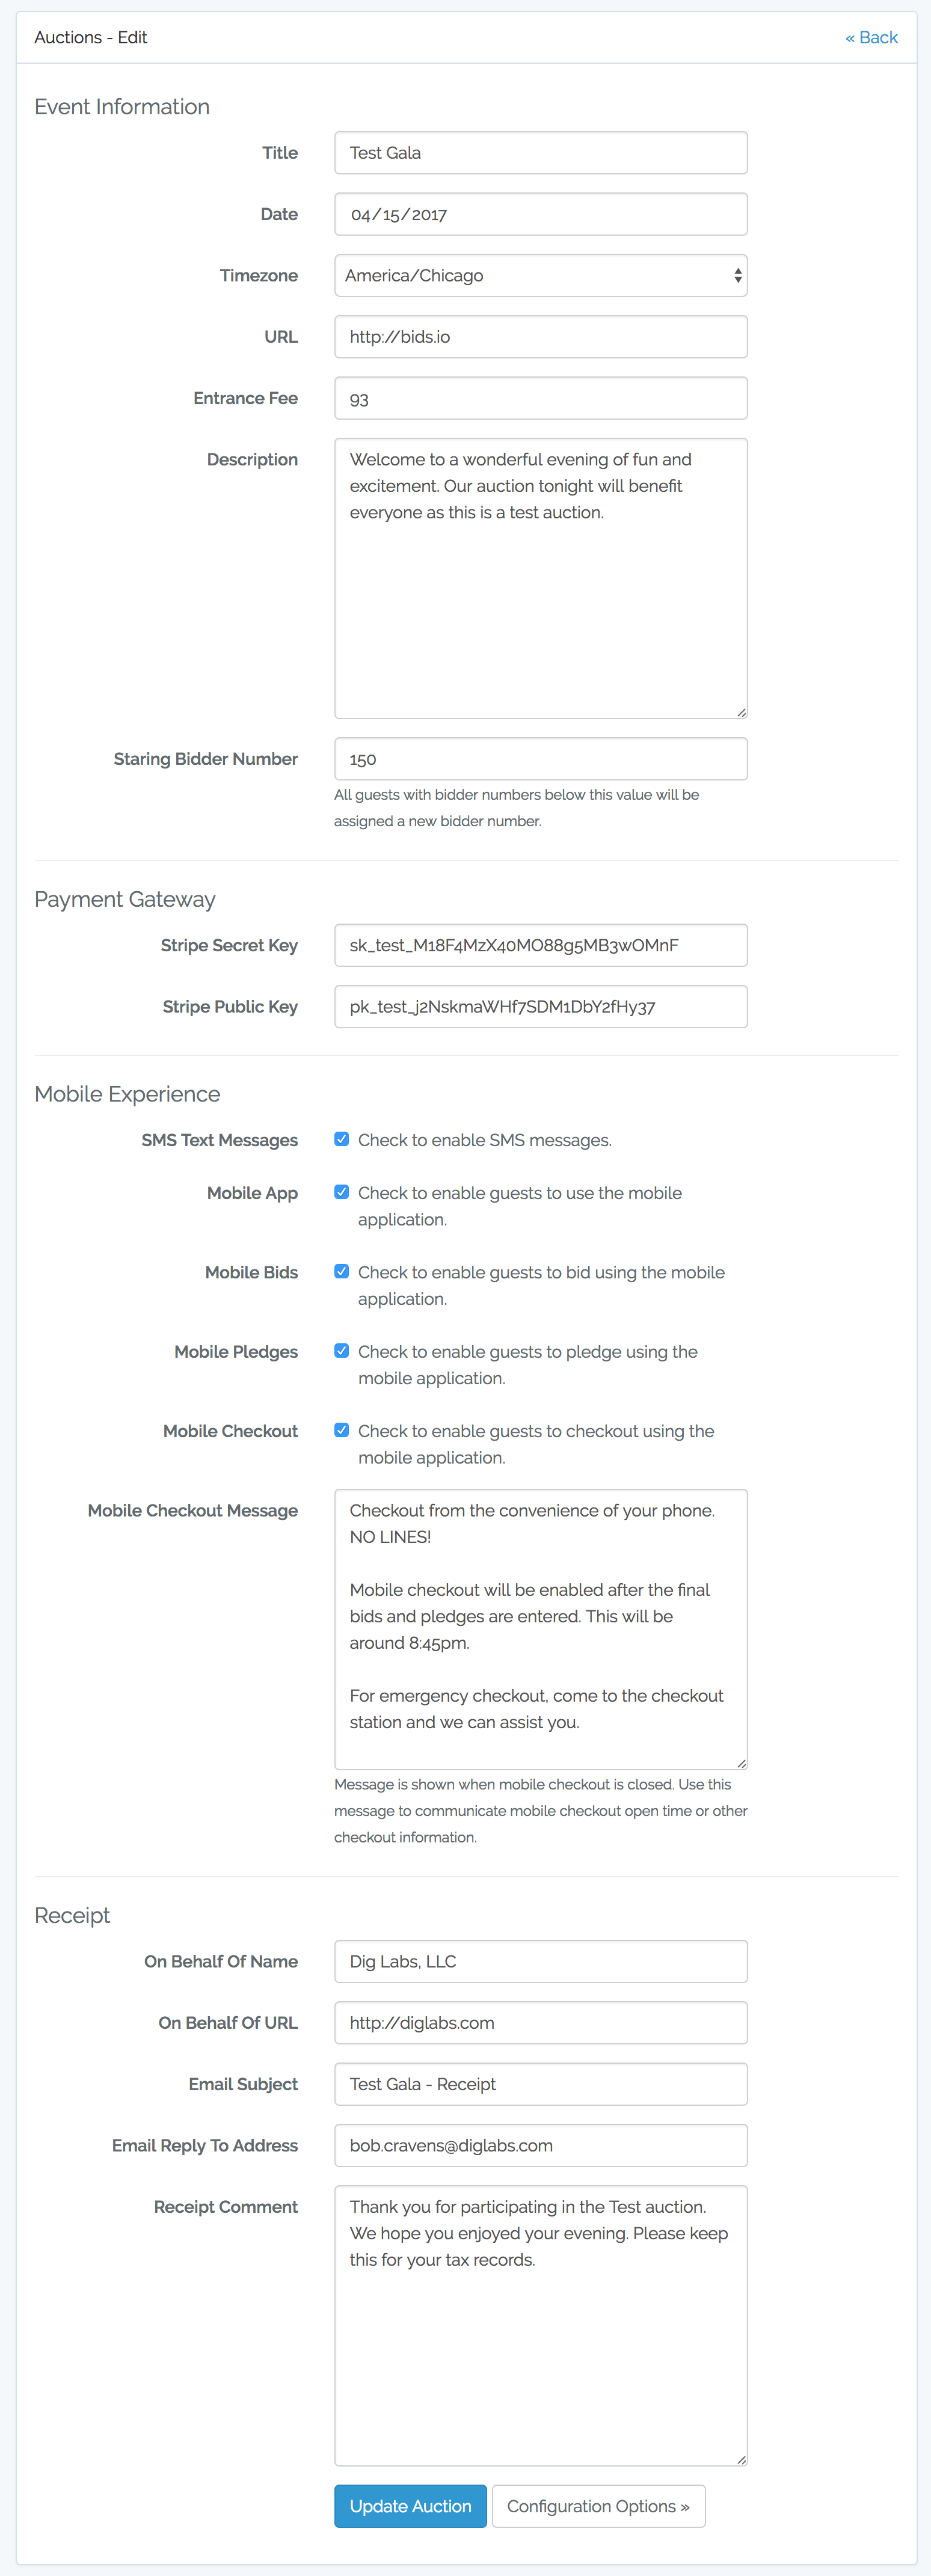
Each auction is displayed in a row in the above table. Along the left-hand side of each row is a link that allows you to view the auction details. We will cover more on that later. In the upper right hand corner, there is a Organize A New Auction button. Clicking the Organize A New Auction provides a form to create a new auction. There are four sections to the form that allows you to configure: Event Information, Payment Gateway, Mobile Experience and Receipt. Below is an example of the sections filled out for a sample:
Event Information
This is general event information and is used by the application when presenting information to the guests and users.
- Title - The auction title.
- Date - The date the auction will occur.
- Timezone - The timezone the auction occurs in.
- URL - A URL where a more info about the auction exists.
- Entrance Fee - The entrance fee per guest.
- Description - A short description of the event.
- Starting Bidder Number - Guest will be assigned bidder numbers starting with this number.
Payment Gateway
This is the payment gateway information needed for BIDS to automatically collect winning bids and pledges. BIDS integrates with Stripe to provide secure payment services. Stripe provides "live" and "test" keys. If you just want to test (no real charges) then enter your "test" keys below.
- Stripe Secret Key - The secret key to access the Stripe API for your Stripe account.
- Stripe Public Key - The public key to access the Stripe API for your Stripe account.
Mobile Experience
This options allow you to configure and control the mobile features that guests can access during the auction. Mobile features can be used to enhance your guests experience, by providing guests access to additional data (e.g. details on auction items), notifications (e.g. SMS message when they get out bid) and features (e.g. mobile checkout allows them to by-pass long lines).
-
SMS Text Messages - This option enables the BIDS to send SMS text messages to guests. This includes:
- Welcome Message - Sent when the guest checks in. If "Mobile App" is enabled, the message will include a secure link to the mobile application.
- You've Been Out Bid Message - Sent when guest is out-bid by another guest. Requires "Mobile Bids" to be enabled.
- You Won Message - Sent when silent auction group is closed.
- Receipt Message - Send when the guest checks out. This message is in addition to the email receipt. A link to the PDF receipt is included.
- Mobile App - This option enables guests to get access to the mobile app. A unique and secure link is provided via SMS and email to the application.
- Mobile Bids - This option enables guests to bid using the mobile application. This is the "master switch" for all mobile bidding. Each item also includes a checkbox to control mobile bidding on that item.
- Mobile Pledges - This option enables guests to pledge on activities using the mobile application. This is the "master switch" for all mobile pledging. Each activity also includes a checkbox to control mobile pledging for that activity.
- Mobile Checkout - This option enables mobile guest to checkout (pay) using the mobile application. This option can be turned off initially and then turned on when you checkout starts (after all bids / pledges are entered).
- Mobile Checkout Message - This message is displayed to the guests on the mobile application when "Mobile Checkout" is disabled. Use this message to inform your guests about your checkout open time or other checkout procedures.
Receipt
These options allow you to configure the information that is included in the receipt and the email used to send the receipt.
- On Behalf Of Name - Provides the name of the organization collecting the money.
- On Behalf Of URL - Provides a URL for guests to find more info about the organization collecting the money.
- Email Subject - This is the subject that will appear in the guest's email application for the receipt email.
- Email Reply To Address - This is the address that replies to the receipt email get sent.
- Receipt Comment - This message is included in the email body and the receipt PDF. This is a good place to include your tax exempt ID if you are a non-profit.
Once you've entered all the information click the 'Create Auction' button at the bottom. That's it, you've created your auction. Now it's time to add items and guests.
Edit Auction
There are two methods of viewing / editing auction details:
First, right after you login to your account, you will see a list of auctions that you have either created or have been invited to help manage. Here is an example with two auctions:
Each auction is displayed in a row in the above table. Along the left-hand side of each row is a link (eye icon) that allows you to view the auction details.
The other method is to use the top navigational bar to navigate to the details.

Both of these methods will bring you to a page that looks like the following:

Just under the header you will see a few tabs (e.g. Info, Items, Guests...etc). These tabs provide access to various features of BIDS. The image above shows all the available tabs if you are an "Owner" or an "Admin" for the auction. If you are not an "Owner" or "Admin" some tabs may not be shown. In addition, "Owner" and "Admin" users will see a "Configure" button after the last tab.
The "Info" tab provides a few high-level details for the selected auction. If you are an "Owner" or an "Admin" you will see a "Configure" button displayed below the info. Clicking either of the "Configure" buttons will bring you to the configuration page for the auction. This page is only accessible by "Owner" and "Admin" users. Here is an example:

This page provides access to features that allow you to manage every detail (e.g. Auction, Users, Items...) of the auction. To edit the auction details, click the "Edit" button for the Auction. You will then see the following:
Update any fields you need to change and then click the "Update Auction" button at the bottom.
Delete Auction
Access the configuration page and you will see the following:
At the bottom of this page you will see a red "Delete Auction and All Auction Data" button. Click this button starts the delete process. There is a single confirmation page:
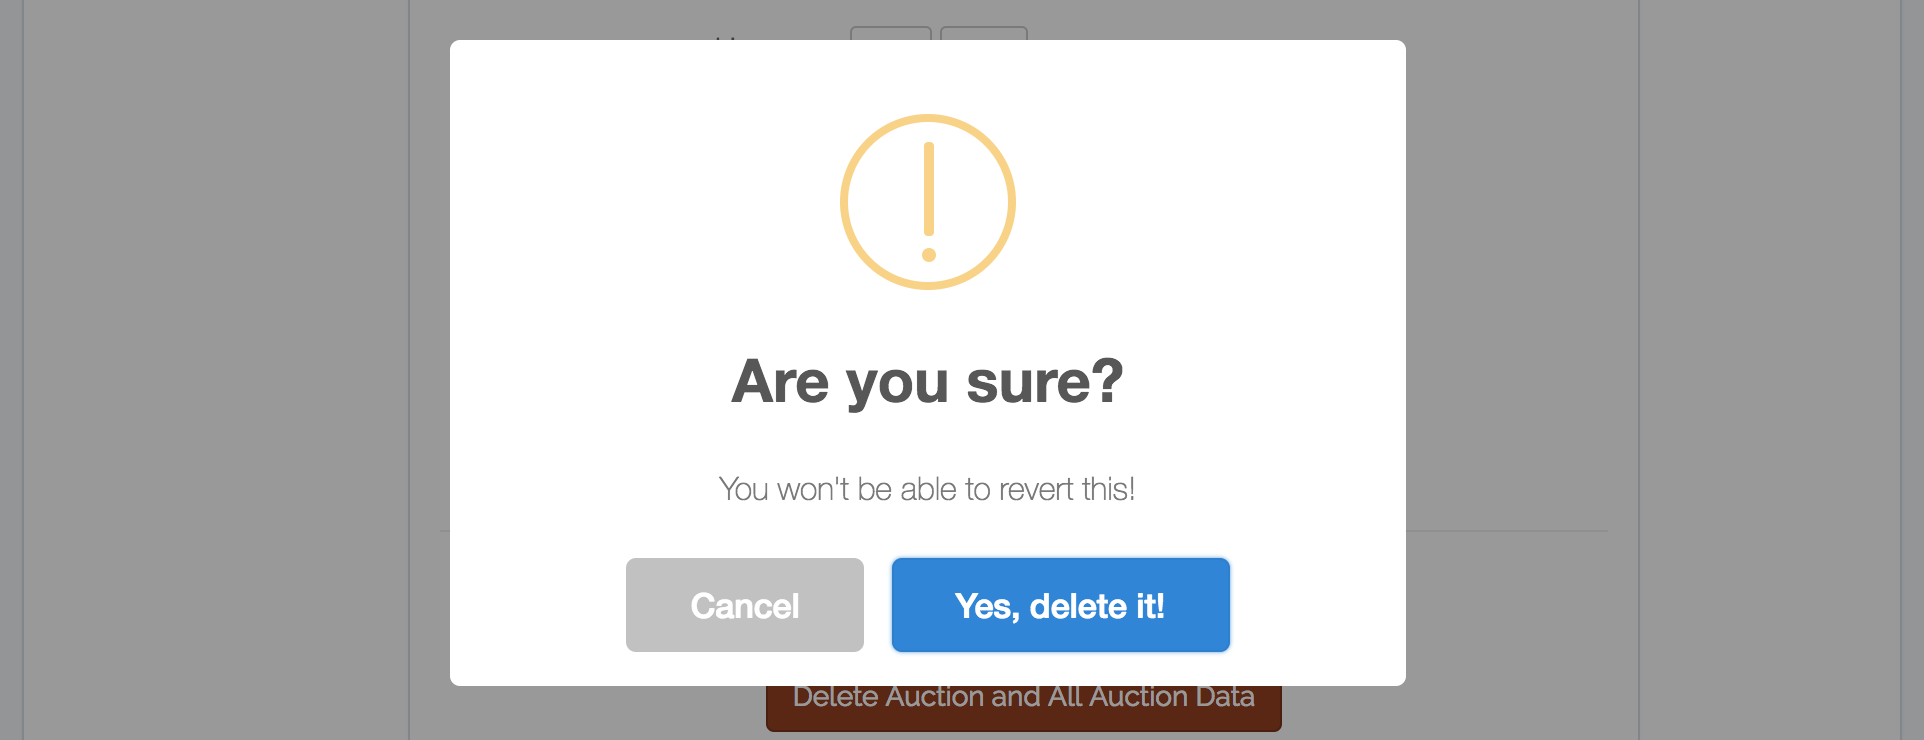
Click the "Yes, delete it!" button will delete the auction and all associated data. This is not reversible!.